


How to Properly Sterilize Reusable Veterinary Medical Supplies to Prevent Infection?
Every veterinary surgeon knows the stakes. A single contaminated tool can ruin a successful surgery. Post-operative infections cost lives and damage clinic reputations. Therefore, mastering the art of sterilization is your first line of defense.
In this guide, we explore how to handle veterinary medical supplies safely. We will break down complex protocols into simple, manageable steps. By the end, you will know how to keep your patients safe and your tools pristine.
Why Sterilization of Veterinary Medical Supplies Matters
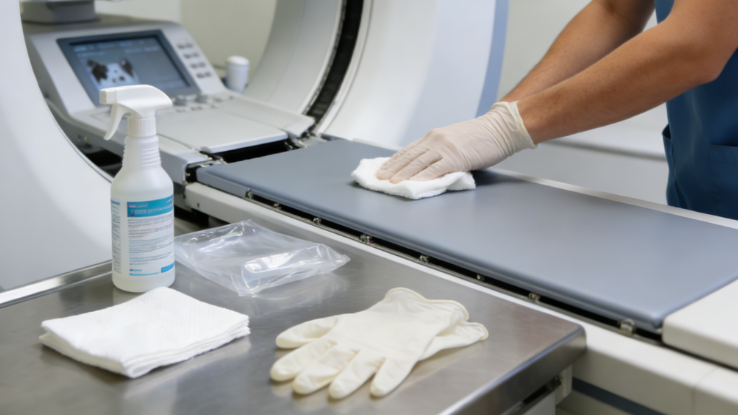
Patient safety starts with clean equipment. Bacteria and viruses thrive on used surgical tools. If you skip a step, cross-contamination occurs rapidly. This risk threatens every animal in your care.
Proper cleaning also extends the life of your expensive gear. Blood and saline can corrode high-quality stainless steel. Thus, sterilization is a financial investment as much as a medical necessity.
Step 1: Immediate Pre-Cleaning and Decontamination
Your process begins the moment a surgery ends. You must not let debris dry on your instruments. Dried blood creates a “biofilm” that protects bacteria.
- Rinse immediately: Use cool, deionized water to remove gross soil.
- Use enzymatic cleaners: These break down proteins and fats effectively.
- Avoid harsh chemicals: Never use bleach on fine surgical steel.
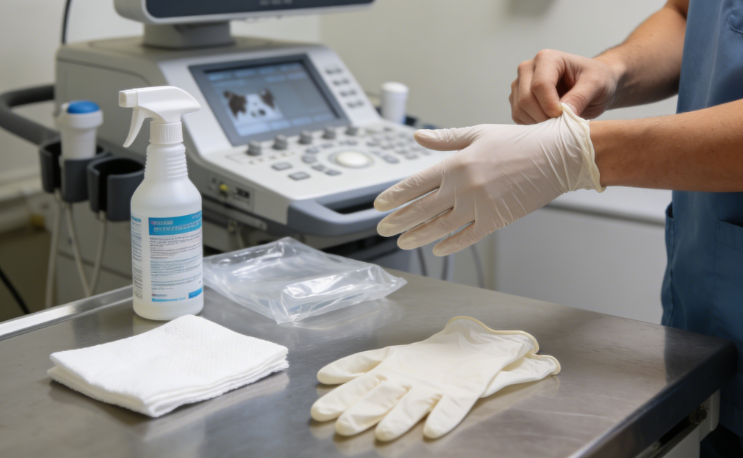
Consistency at this stage makes the rest of the process easier. Always wear personal protective equipment (PPE) during this phase.
Step 2: Thorough Manual or Ultrasonic Cleaning
After rinsing, you need a deeper clean. Manual scrubbing is common but requires great care. You must reach every hinge and crevice of your veterinary medical supplies.
The Power of Ultrasonic Cleaning
Many top clinics now use ultrasonic cleaners. These machines use sound waves to create tiny bubbles. This process, called cavitation, pulls dirt from hard-to-reach areas. It is much more efficient than hand scrubbing alone.
Manual Scrubbing Best Practices
If you scrub by hand, use a soft nylon brush. Steel wool will scratch the surface of your tools. Scratches provide hiding spots for microscopic pathogens. Always scrub submerged to prevent splashing contaminated fluids.
Step 3: Inspection and Lubrication
Clean tools are not necessarily ready for the autoclave. You must inspect every item for damage or rust. Check that scissors remain sharp and forceps align perfectly.
Why You Must “Milk” Your Tools
We often call lubrication “instrument milk.” This step prevents friction and rust. It keeps moving parts fluid and functional. Ensure your lubricant is water-soluble and antimicrobial. Never use industrial oils on medical equipment.
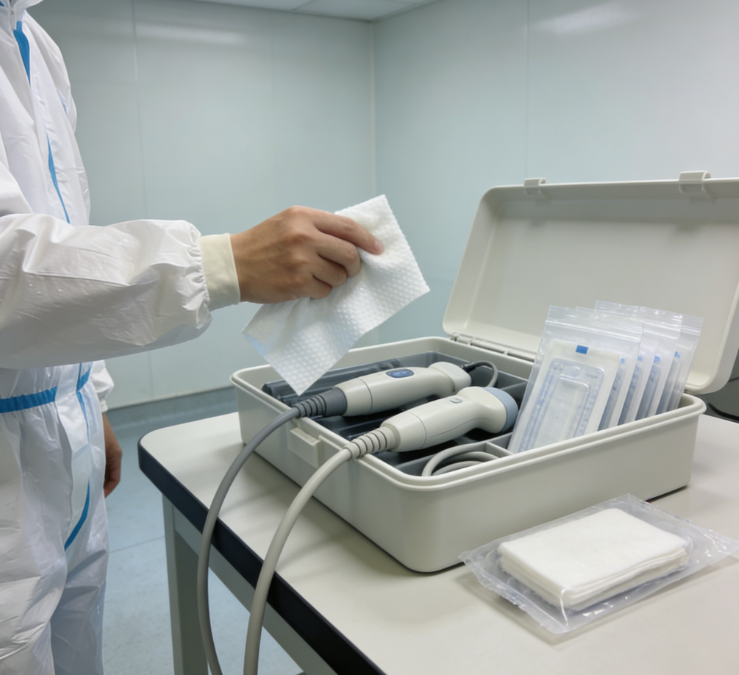
Step 4: Proper Packaging for the Autoclave
Before sterilization, you must wrap your items correctly. Use sterilization pouches or surgical wrap. This barrier keeps the tools sterile until the next use.
- Use indicators: Place internal and external chemical indicators in every pack.
- Don’t overpack: Steam must circulate freely around every single item.
- Label clearly: Mark the date, the contents, and the technician’s initials.
Step 5: Choosing the Right Sterilization Method
Steam sterilization remains the gold standard in most clinics. The autoclave uses heat and pressure to kill all microbial life.
Autoclave Parameters
Most veterinary medical supplies require specific settings. Usually, this means 121°for 30 minutes at 15 psi. Alternatively, use 134°for 4 minutes for faster “flash” cycles.
Other Methods
For heat-sensitive items, consider gas sterilization or cold chemical soaks. However, these methods require longer “off-gassing” times to protect patients.
Case Study: Insights from the VIN (Veterinary Information Network)
On the Veterinary Information Network (VIN), experts recently discussed sterilization failures. One member noticed a spike in post-op redness. They tracked the issue to “wet packs” coming out of the autoclave.
The community discovered the technician was skipping the drying cycle. Moisture allows bacteria to “wick” through the paper packaging. By simply extending the dry time, the clinic eliminated the infection risk. This proves that even small details matter in a clinical setting.
Best Practices for Maintaining Sterile Integrity
Storage is just as vital as the cleaning process. Keep your sterile packs in a closed, dry cabinet. Avoid high-traffic areas where dust can settle on the wraps.
- First In, First Out: Use older packs before newer ones.
- Inspect before use: If a wrap is torn, consider it contaminated.
- Environmental control: Keep your storage area cool and low-humidity.
Conclusion
Sterilizing veterinary medical supplies requires discipline and the right tools. By following these five steps, you protect your patients and your practice. Remember, shortcuts often lead to infections. Invest time in your cleaning protocols today for a safer tomorrow.
Effective sterilization is the hallmark of a professional clinic. It builds trust with your clients. Most importantly, it saves lives.
Click “Contact Us” to learn more about veterinary medical supplies and choose the products that best suit your needs!